
Edge Blending
Edge Blending is only available on Resolume Arena!
Edge blending is the dark art of stitching together the output of two or more overlapping projectors and making one seamless screen out of them.
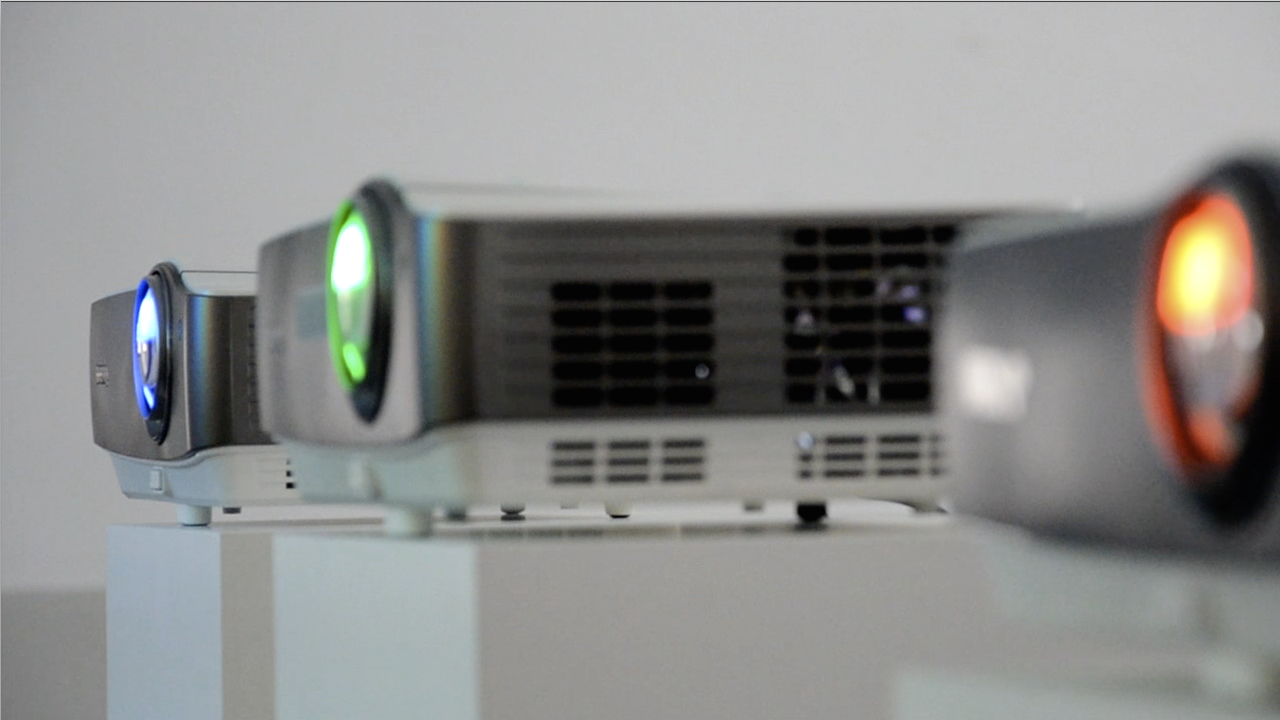
Resolume will help you do this by gradually fading out the area where the projectors overlap.
Overlap the Input
In order for edge blending to take effect, you need to have your slices partially cover the same area of your composition. This overlap should mimic the physical overlap of the projectors on your surface. In other words, you need to make sure that the slices overlap the same way as your physical projectors do in the real physical world.
Tip! For best results, a minimum of 15% overlap is recommended.
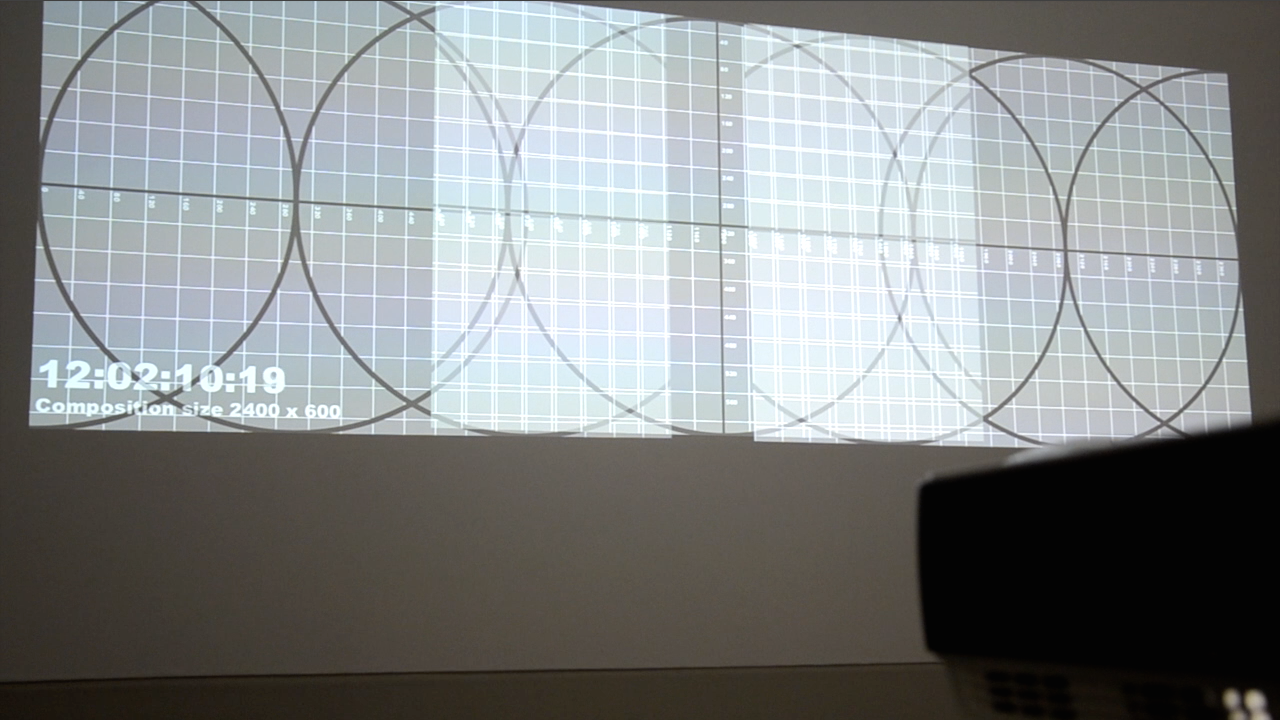
You can use the test card ( Output > Show Test Card ) for this. Display your test card on the projector and keep moving the slices towards each other until the image on the projectors shows the same pixels in the overlapping area. The test card has diagonal lines on it to help you find the correct spot on the grid.
Align the Output
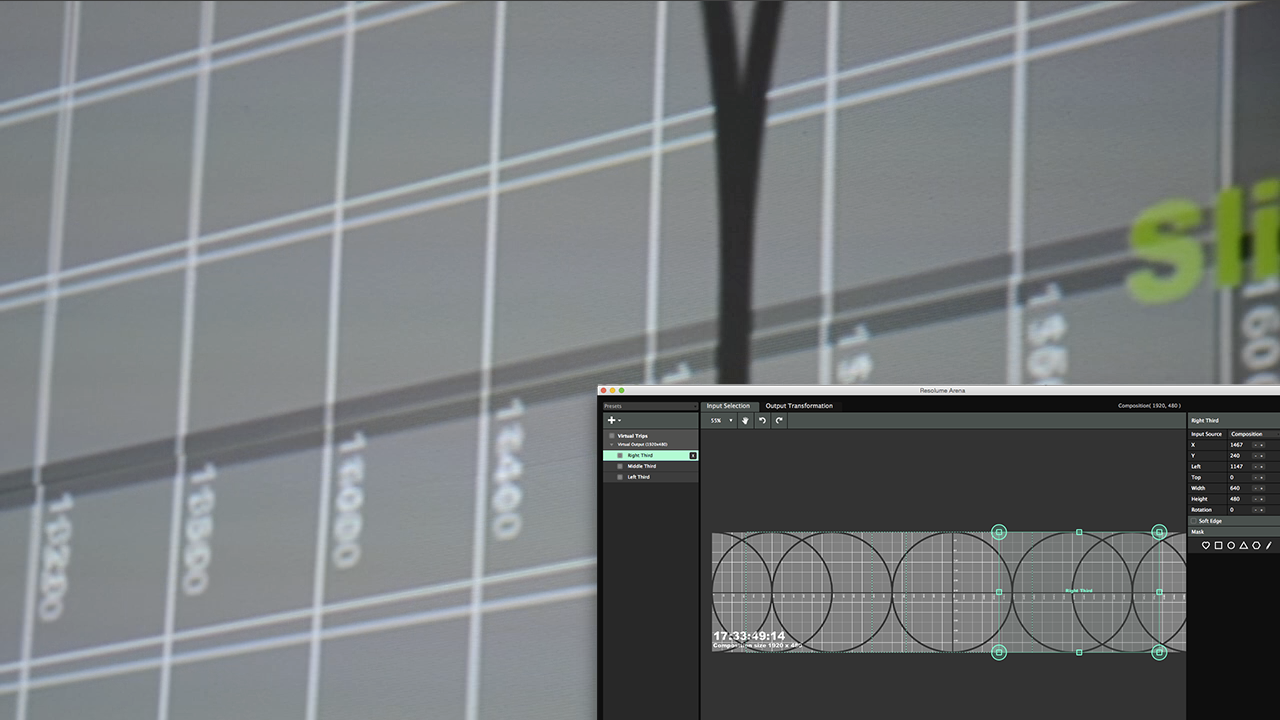
On the output side, you need to make sure your projectors are aligned properly. The best way to do this is to perspective warp each output while projecting the testcard again. Then keep adjusting the corner points one by one until the grid aligns perfectly.
Tip! Perspective warping are the four big corner points of your slice. Make sure you use those and not their smaller baby brothers that only do linear warping.
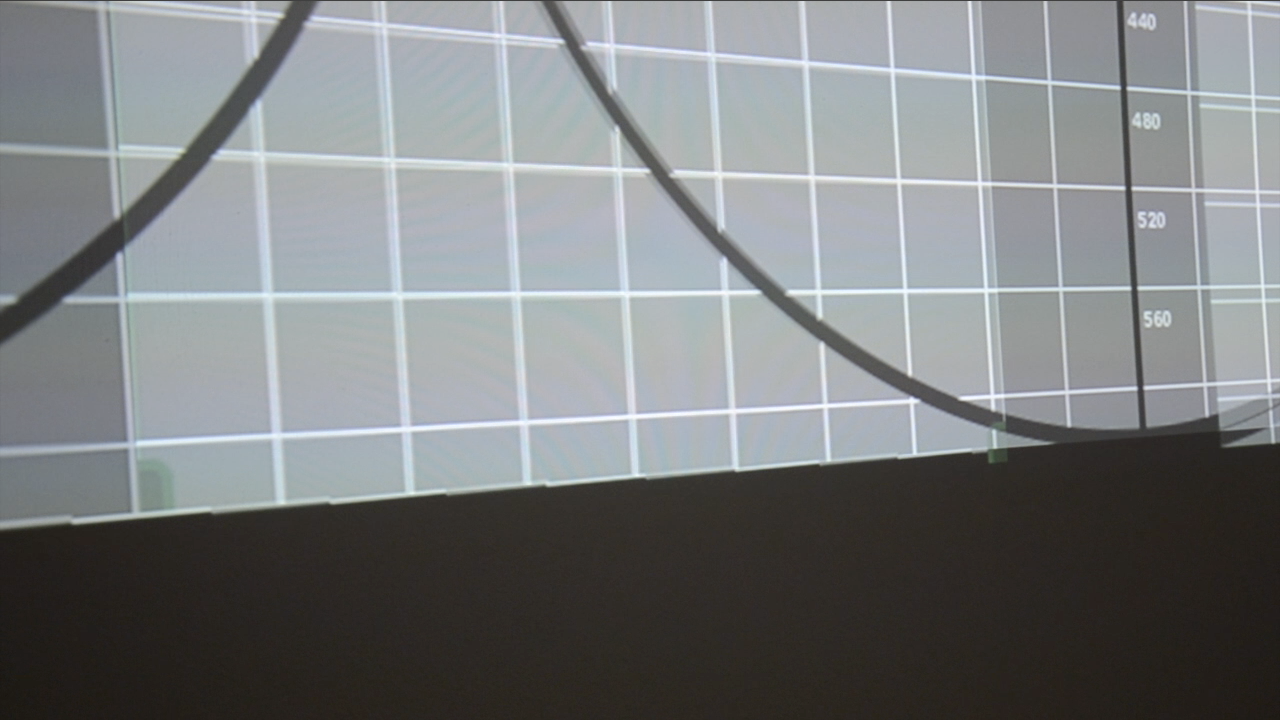
Blending
Then you can turn on edge blending for each slice in turn. Resolume will automatically blend the edge in the middle. Magic!
Finetuning
You can still control the edge by refining the following three parameters:

Gamma Red, Green and Blue: This controls the overall brightness of the red, green and blue channel of the edge blend overlap area.
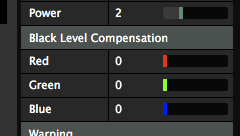
Power: This control the slope of the edge blend curve. The higher this number is, the steeper the curve will be in the center of the fade area.
Luminance: This control the brightness of the center point of your fade. This allows you to further adjust the slope of the curve.
Gamma: This is the overall brightness of the fade area.
Black Level and Brightness Compensation
 Since projectors project light, they can never project complete black. That makes sense, because complete black actually is the absence of light.
At best, a projector actually projects a very deep grey.
So where two projectors overlap, this causes the problem to double up. In the areas that should be 'blacked out' by edge blending, they will project deep grey on deep grey.
The result in the overlapping area will be an even lighter grey. The black level compensation is to make up for this difference, by allowing you to make the non-overlapping areas slightly brighter.
Tip! Black Level Compensation is available on the output tab.