
Wire Video Exporter
So you’ve made an awesome patch and now you would like to create a video from it to share with your insta-cloud? Questionable life choices, but we got you.
Before you get started, make sure your patch has a Texture Out node as the Exporter will use that node to create footage from. The video exporter can be found under the patch drop-down menu. Alternatively you can hit CTRL+Shift+E shortcut to get straight to the exporter.
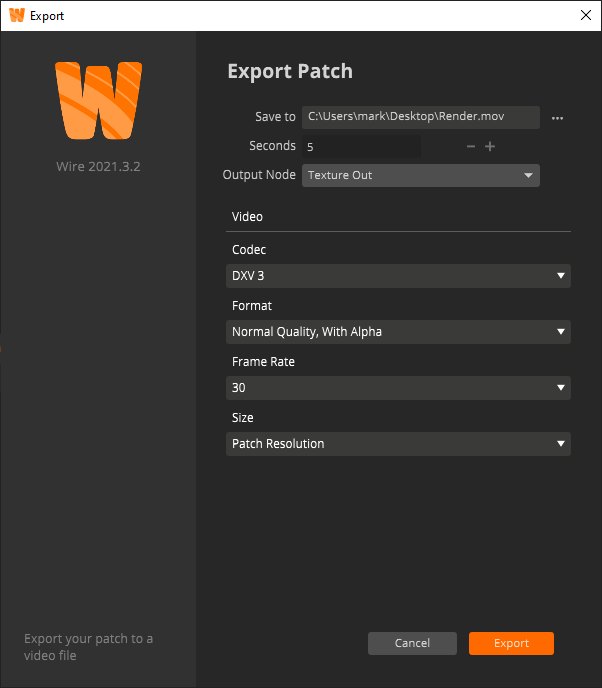
In the video exporter you’ll have control over basic controls like the folder you want to save your file to, the length of the render and which Texture Out you would like to render. That last one is only relevant if you have more than one Texture Out node.
Under the video section you can select the desired codec, format, fram rate and size.
By default the patch size will be used for the resolution. You can change this to any resolution you need, even custom ones! We've included a lot of different Frame Rate options as well. 10x2600 @ 12fps is the future bruv!
The codec is the codec used for your renders.
Use DXV for clips that you’ll use in Resolume products.
Use MotionJPEG or ProRes when you want to work on your clips in other software.
Note that the DXV codec does work in Adobe After Effects and Premiere Pro.
Under format you can change whether to render at high or normal quality and whether to render the files with or without alpha. Rendering without alpha will reduce the file size but the clip will lose it’s transparency. If your content contains a lot of gradient colors it is best practice to switch to high quality to preserve these. If your clip doesn’t contain an Alpha channel you can select a format without Alpha to save on disk space and get faster render times.