Getting Started
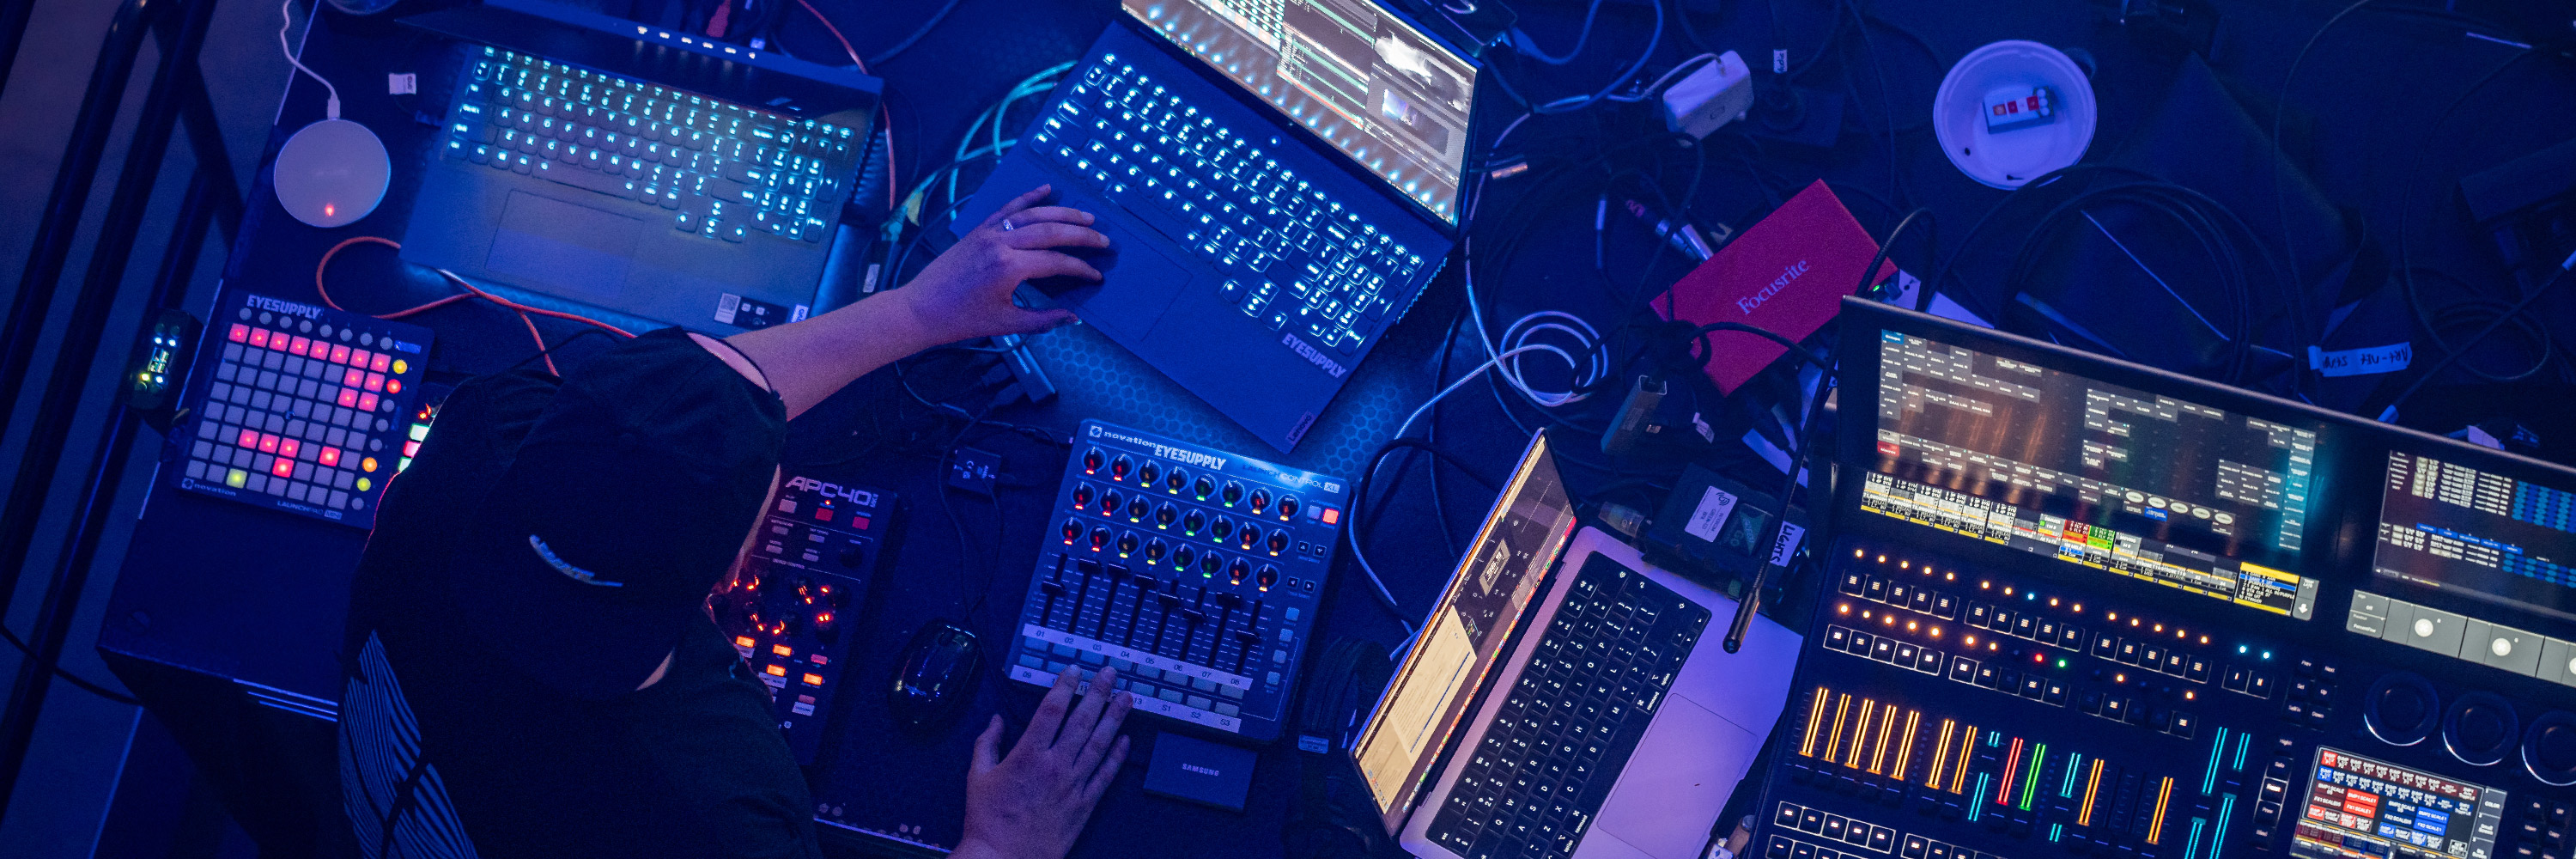
Addressable Full Color LED Pixels have opened up amazing possibilities. We live in a time where both technology and the knowledge to use it are openly accessible. Sometimes the amount of how-to's, DIYs, guides, lists, etc. can be overwhelming and getting a basic starting point seems out of reach.
The aim of this section is to create a deep-dive guide on how to get your videos from computer screen to LED Pixels.
This guide is designed with 2 parts, each aimed a slightly different audience. The first part, the "DIY Lab" is aimed at the DIY crowd. If you want to get into this field, learn a bit of coding, some electronics and networking, this is for you!
The second part, the "Off the shelf Lab" is based on off the shelf tech that requires no coding and minimal electronics knowledge.
Please note this will not be a "DIY VS Off the Shelf" debate, but rather a full featured write up of both to let you choose a direction. Both implementations will achieve similar results, some will require more time, more money, or more involvement from you.
Hardware & Software
In both labs, we'll use the following hardware and software:
LED Matrix
 For both systems we will be using an off the shelf matrix of pixels.
The matrix is a 14 x 14 array using SK9822 5050 RGB pixels. It has a rigid PCB and very well laid out power traces.
 It also has a separate power and ground connector for injecting power for large scale systems. The pixels in this panel are connected in a Zig Zag pattern, which you can see as the green lines marked up on the second image. This indicates how the pixels are physically connected to each other.
You can read more about how addressable pixels work, as well as the different types and their advantages and drawbacks.
Software
We will be using Resolume Arena 6 for all demos. Read more about the different steps of the software workflow.
Power Supply
 We will need a maximum of 11.7A (5x11.7=58W) to drive this matrix at full power, for this reason we will be using an off the shelf power supply.
This particular model is overkill for our demos, but it is a very good quality low noise switching power supply with active cooling built in.
Read more about choosing a power supply and safely powering your pixels.
DIY Lab
 We will focus on building the "Pixel Driver" using open source hardware and software.
We will be taking an in depth look at writing our own software using the Arduino platform on the ESP32 Micro Controller. The ESP32 is a full featured WIFI and BT enabled Micro. It powerful and super cheap, $10, for its capabilities.
Dive into the DIY Lab.
Off the Shelf Lab
 This lab will focus on using an OFF THE SHELF solution with no programming and very little electronics knowledge. For this we will be using the PixLite MK2Lighting Controller.
It's a relative cheap and very well featured device that will work for most small to medium scale installations.
Specifically we will be using the PixLite 4 MkII that has been supplied to us by the awesome crew at Advatek Lighting Australia.
Jump into the off the shelf lab.